
What Makes DIY Pizza Lunchables So Irresistible?
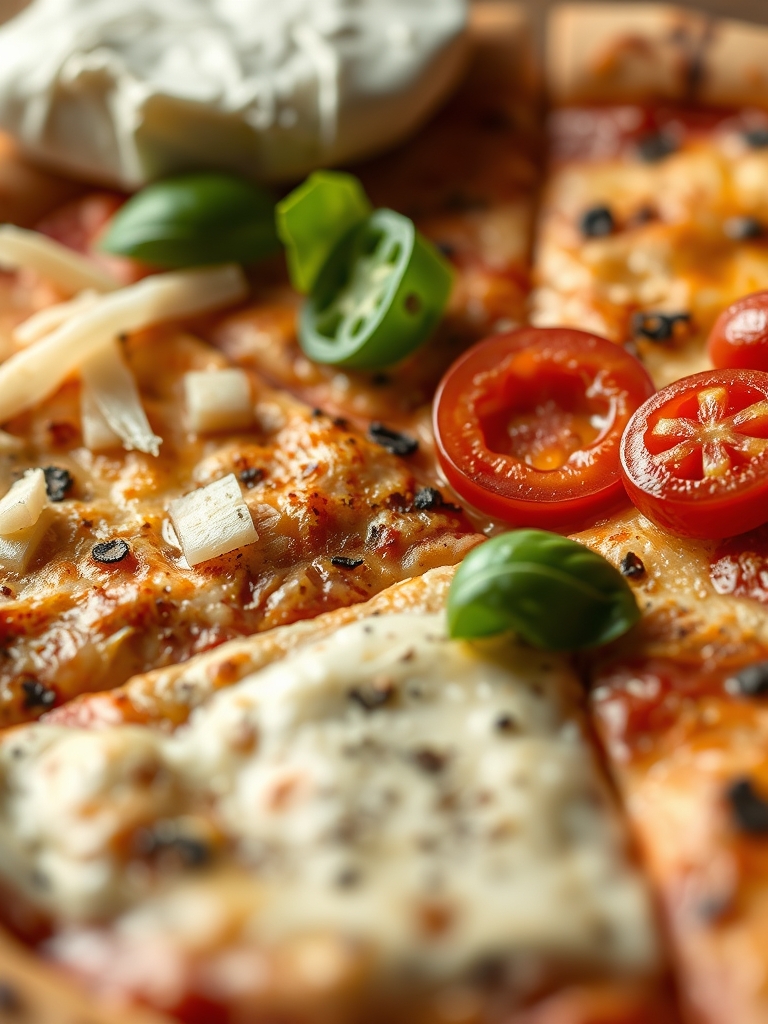
DIY Pizza Lunchables are a delightful twist on the traditional packed lunch, designed to satisfy kids and adults alike. These homemade pizza kits feature crunchy whole grain crackers as the base, smothered in rich pizza sauce, and topped with gooey mozzarella cheese. The combination of textures—from the crispness of the crackers to the molten cheese and vibrant toppings—creates an explosion of flavors that will make lunchtime something to look forward to.
Not only are these DIY Pizza Lunchables appealing to the palate, but they’re also incredibly versatile. You can customize each kit with various toppings, ensuring that even the pickiest eaters find something they love. Whether you’re prepping lunch for school or throwing together a quick snack for the kids after a busy day, these Lunchables make for an easy, hands-on meal that encourages creativity and fun in the kitchen.
DIY Pizza Lunchables Ingredients
- 1 cup pizza sauce
- 8 whole grain crackers
- 1 cup shredded mozzarella cheese
- 1/2 cup sliced pepperoni
- 1/2 cup diced bell peppers (substitute with sliced mushrooms for variety)
- 1/4 cup sliced black olives (optional, omit for a milder taste)
- 1/4 cup shredded carrots (replace with zucchini ribbons for extra veggies)
- 1/4 tsp Italian seasoning
How Long Does DIY Pizza Lunchables Take?
The total time to prepare your homemade DIY Pizza Lunchables is just 15 minutes. This includes a quick prep time of about 15 minutes, and since there is no cooking involved, you can whip these up in a flash!
How to Make DIY Pizza Lunchables
Prepare the Base
Start by gathering your ingredients, including crackers, cheese, and toppings. Arrange the whole grain crackers on a clean surface. Pro tip: Using crackers that are slightly larger will give you more surface area for toppings.
Add the Sauce
Spoon about 1 tablespoon of pizza sauce onto each cracker. Spread it evenly with the back of the spoon for better coverage. Pro tip: If you want a spicier kick, mix a pinch of crushed red pepper flakes into your pizza sauce before topping the crackers.
Sprinkle Cheese
Top each sauced cracker with a generous handful of shredded mozzarella cheese. Pro tip: You can mix in some Italian seasoning with the cheese for extra flavor! This will enhance the overall taste profile, making it more authentic.
Add Toppings
Add your favorite toppings, such as pepperoni, diced bell peppers, black olives, or shredded carrots. Feel free to use whatever you have on hand. Pro tip: Make it a fun activity by allowing your kids to choose their own toppings to adorn their personalized pizzas.
Garnish
For a final touch, sprinkle a bit more shredded cheese and a dash of Italian seasoning over the top. It’s all about personal preference! Pro tip: Fresh basil or oregano can elevate the flavor even more if you’re looking for gourmet flair.
Serve and Enjoy
Your DIY Pizza Lunchables are ready to serve! Pack them in lunchboxes or enjoy as a fun after-school snack. Pro tip: If you’re creating these for a party, consider providing a variety of sauces and toppings to encourage build-your-own creations.
Nutritional Information
| Nutrient | Per Serving |
|---|---|
| Calories | 320 |
| Protein | 12g |
| Carbohydrates | 30g |
| Fat | 16g |
| Fiber | 3g |
| Sodium | 580mg |
Healthier Alternatives for DIY Pizza Lunchables
1. **Low-Calorie Option**: Use lettuce leaves instead of crackers for a lower-calorie version that’s still satisfying. The crunch from the lettuce adds freshness without the calories of traditional crackers.
Dairy-Free Option: Substitute dairy cheese with vegan cheese or hummus for a creamy, dairy-free experience. This change maintains the flavor profile while catering to those with lactose intolerance.
High-Protein Option: Swap in turkey slices instead of pepperoni for a lean protein boost. This keeps the dish flavorful while offering a healthier protein source that will keep kiddos fuller longer.
How to Serve DIY Pizza Lunchables
1. **Creative Lunch Boxes**: Pack these Lunchables alongside fresh fruit such as apple slices or grapes for a balanced meal. The sweetness complements the savory flavors perfectly.
Picnic Snack: Bring the DIY Pizza Lunchables to a family picnic. Pair them with carrot sticks and a small container of ranch dressing for dipping.
Themed Parties: Set up a pizza-making station for weekend parties where kids can build their Lunchables. Include various sauces and unique toppings like pineapple, ham, or even pesto.
Common Mistakes to Avoid
1. **Using Stale Crackers**: Always check the freshness of your crackers before using them. Stale crackers can ruin the texture of your Lunchables. Fix: Stock up on fresh crackers when making these.
Overloading with Toppings: Adding too many toppings can make the crackers soggy or difficult to eat. Fix: Keep it simple and cap the toppings to two or three favorites to maintain a good balance.
Not Mixing the Sauce: Pizza sauce can sometimes settle, leaving you with a watery layer on the bottom. Fix: Whisk the pizza sauce before applying to achieve an even consistency.
Skipping the Seasoning: Not using seasoning can make your Lunchables bland. Fix: Always sprinkle some spices on your cheese before serving for an extra flavor punch.
Forgetting to Pre-assemble: If you don’t assemble the ingredients beforehand, it can lead to a mess during serving. Fix: Pre-assemble your Lunchables in a fun box or container for quick serving.
How to Store DIY Pizza Lunchables
For leftovers, store your DIY Pizza Lunchables in an airtight container in the fridge for up to 3 days. If you want to prepare them in advance, keep the components separate until it’s time to serve. For longer fresh meals, you can freeze the unassembled ingredients for up to 1 month. To enjoy, simply thaw them overnight in the fridge.
Final Thoughts on DIY Pizza Lunchables
These vibrant, customizable DIY Pizza Lunchables offer a delightful spin on traditional lunch fare and promise to be a hit with kids and parents alike. The friendly assembly process and endless topping options ensure that each bite is enjoyable and satisfying. Make these DIY Pizza Lunchables for your next lunch outing or after-school snack and watch as the smiles unfold!
We invite you to share your creations in the comments below or save this recipe to Pinterest for future reference. Your families will thank you!
Frequently Asked Questions
Can I prepare DIY Pizza Lunchables the night before?
Yes! You can prepare the components ahead of time but keep the crackers separate from the toppings and sauce. This will prevent them from getting soggy, ensuring they taste fresh when it’s time to enjoy!
What can I use instead of pizza sauce?
You can use marinara sauce, hummus, or even pesto for a different flavor profile. Each alternative brings its unique taste, making your DIY Pizza Lunchables even more versatile!
How can I make these Lunchables healthier?
To make them healthier, consider using whole grain or gluten-free crackers, adding different veggies as toppings, or using low-fat cheese. These modifications can increase nutritional value without compromising on taste.
Are there any good substitutes for mozzarella cheese?
Yes! You can use cheddar, gouda, or even vegan cheese alternatives. Each cheese will impart a different flavor, so choose one according to your preference.
Can adults enjoy DIY Pizza Lunchables too?
Absolutely! DIY Pizza Lunchables are perfect for all ages. They can be tailored to include gourmet ingredients that will appeal to an adult palate, making for a fun meal option at any gathering.
Sources of recipe DIY Pizza Lunchables and more.
Print
DIY Pizza Lunchables: 5 Tasty Recipes Kids Will Love
- Total Time: 15 minutes
- Yield: 4 lunch kits 1x
Description
DIY Pizza Lunchables are a fun, kid-friendly lunch featuring mini pizza crusts, pizza sauce, shredded mozzarella, and favorite toppings packed separately so everyone can build their own pizza. Perfect for school lunches, picnics, meal prep, or after-school snacks, these homemade lunch kits are fresher, more affordable, and completely customizable.
Ingredients
Ingredients
For the Pizza Kits
- 8 mini naan breads or pizza crusts
- 1 cup pizza sauce
- 2 cups shredded mozzarella cheese
- 1/2 cup mini pepperoni slices
- 1/4 cup grated Parmesan cheese
- 1 tsp Italian seasoning
Optional Toppings
- Diced ham
- Cooked Italian sausage
- Sliced black olives
- Diced bell peppers
- Sliced mushrooms
- Pineapple tidbits
- Fresh basil leaves
- Baby spinach
Lunchbox Sides
- Apple slices
- Grapes
- Baby carrots
- Cucumber slices
- String cheese
- Whole grain crackers
Instructions
Instructions
- Prepare the ingredients: Portion the pizza sauce into small leak-proof containers. Divide the mozzarella cheese and toppings into separate compartments or snack containers.
- Assemble the lunchboxes: Place two mini pizza crusts into each lunch container along with the sauce, cheese, and desired toppings.
- Add sides: Fill the remaining compartments with fresh fruit, vegetables, crackers, or string cheese for a balanced meal.
- Pack: Seal the lunchboxes tightly and refrigerate until ready to enjoy.
- Serve: Kids can build their own mini pizzas at lunchtime or enjoy the ingredients separately as a fun snack.
Notes
Store homemade Pizza Lunchables in the refrigerator for up to 3 days. Use insulated lunch bags with an ice pack for school lunches. Easily customize with whole wheat crusts, turkey pepperoni, extra veggies, or dairy-free cheese to suit your family’s preferences.
- Prep Time: 15 minutes
- Cook Time: 0 minutes
- Category: Lunch
- Method: No-Cook
- Cuisine: American
Nutrition
- Serving Size: 1 lunch kit
- Calories: 395
- Sugar: 6g
- Sodium: 760mg
- Fat: 16g
- Saturated Fat: 7g
- Unsaturated Fat: 7g
- Trans Fat: 0g
- Carbohydrates: 43g
- Fiber: 3g
- Protein: 20g
- Cholesterol: 35mg
Keywords: DIY pizza lunchables, homemade lunchables, pizza lunch box, kids lunch ideas, homemade pizza kits, school lunch recipe